What you will need:
• Construction paper in two different colors
• Scissors
• Jewels
• Foam balls
• Glue sticks
• Glue gun
How we did it:
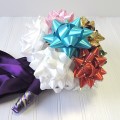
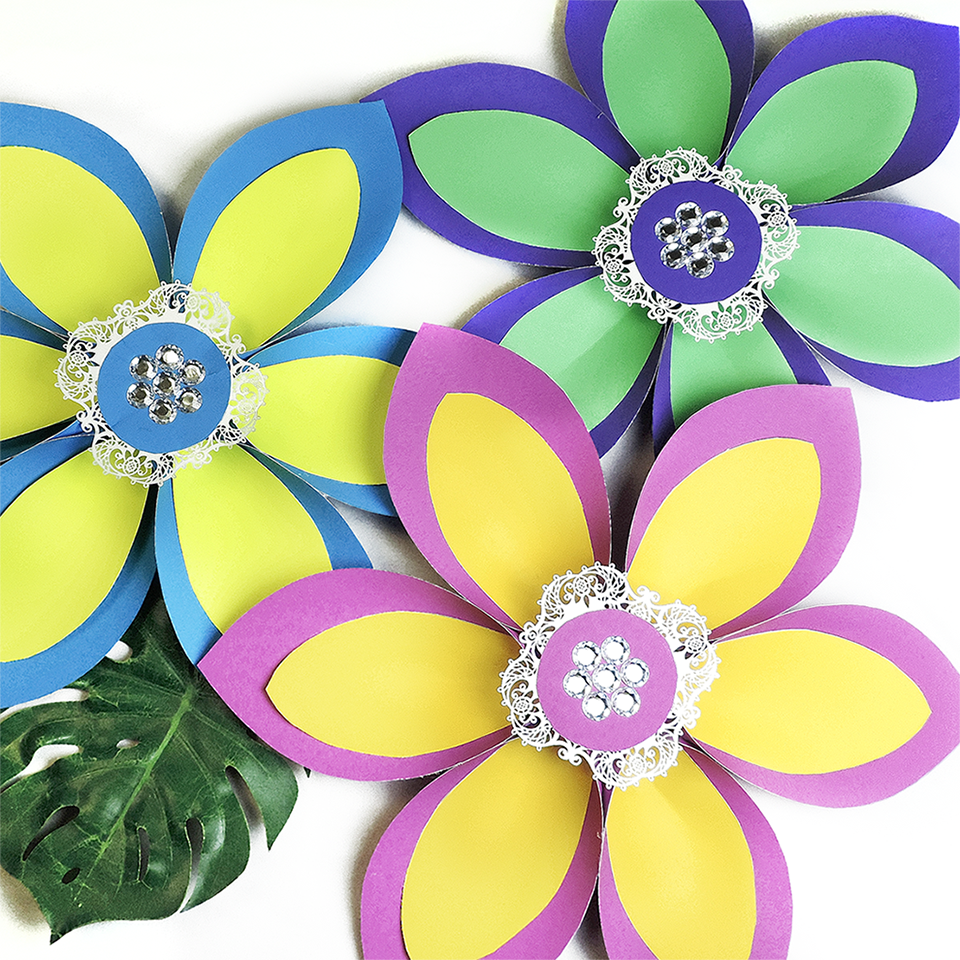
We first made ourselves two templates, one large petal and one smaller petal. You will need about six to seven large and small petals. In a tutorial we found online, you could buy petal stencils but we like to think we are crafty enough to make our own.
Once the petals are cut, we took the base and folded the two sides together at the bottom and secured with hot glue. This gave each petal a little bit of a curve on the sides. The smaller petals get a little tricky, so we cut a tiny slit at the base to help.
Next we glued the little petals into each of the bigger petals. Then we carefully glued each petal together to form a flower. To fully secure the flower we took a paper circle (we used a paper coaster as the stencil and paper of the same color as the large petals) and glued it to the back of the flower. You will need an identical circle piece for the medallion in the middle of the flower.
For the medallion, we took some frilly table numbers we had in the office and glued a colored circle on top. We cut a Styrofoam ball in half and glued the flat edge onto the back of the medallion. Finally, we glued the other side of the Styrofoam ball to the center of the flower to cover up where all the petals meet.
For an extra fancy touch, we added a few jewels to the center. This is your artwork, so it’s up to you on how decorative you would like to get. Have fun crafting!