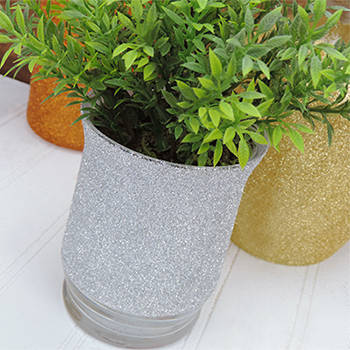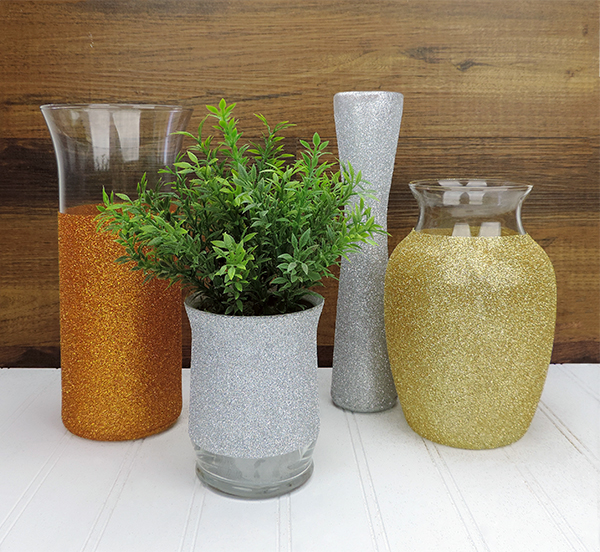
Voila! We decided to glitter up some vases for the flowers we get from our Valentines. And give to our Valentines. Because we’re romantic like that.
You can do it, too. It’s easy!
Here’s what you need:
• vases – we got a variety of sizes and shapes from the dollar store
• glue
• small foam paint brush or pouncer
• fine glitter
• stencils, stickers, tape for making borders and stripes
Here’s what you’ll do:
Tip – glitter will get EVERYWHERE, so make sure to do this project on a covered surface in a craft room, garage, outside or anywhere with easy cleanup.
• make a design on the vase with tape, a stencil, monogram stickers, etc., pressing them tightly against the glass or the glue will seep underneath and leave uneven lines
• coat the vase evenly in glue using a foam brush or pouncer – not too thin or it will dry before you add the glitter, and not streaky or your glitter design will have ridges
• hold the vase over the covered surface and coat it heavily with glitter, rotating so there are no gaps in the coverage
• when finished, let the excess glitter fall off and carefully remove tape or stencil
• set vase on paper plate to dry
• when dry, shake lightly to get the rest of the excess glitter off
Cost? The vases were $1 each. You probably have the glue, brushes, glitter, stickers and tape in your craft stash, or you can buy them for a few dollars at the craft store.
Time? About 10 minutes per vase.
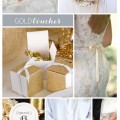
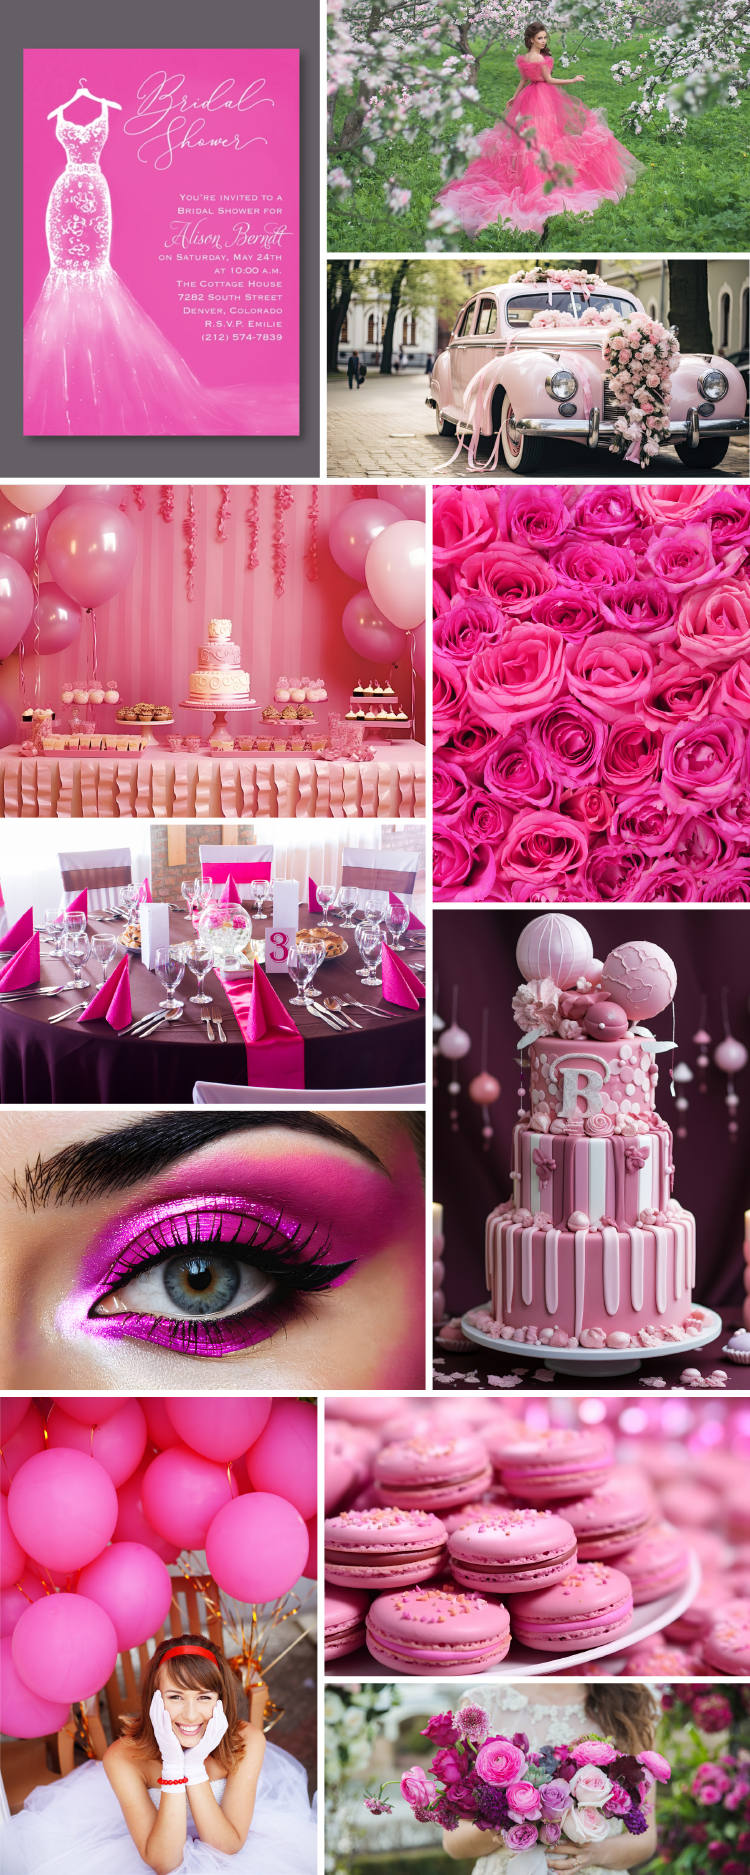
Glitter vases are also great for glam wedding décor!